

For a fresh white deodorant mark on a black shirt, skip the water and rub the stain with a dry piece of fabric, a foam rubber pad, or a used dryer sheet. That lifts surface residue in seconds. For set-in or crusty buildup, you need a vinegar or baking-soda presoak before washing with an enzyme detergent.
Quick triage:
- Fresh, light streak → dry rub with fabric or foam rubber, then machine wash if needed
- Crusty or yellowed buildup → presoak with white vinegar or baking-soda paste, then enzyme wash
- Silk, wool, or “Dry Clean Only” label → skip DIY and go straight to a professional cleaner
Pro Tip: Never put a stained shirt in the dryer until you’ve confirmed the stain is completely gone. Heat bonds deodorant residue to fibers and can make removal permanent.
Key Takeaways
The single most effective approach to deodorant stains on black shirts is to act before heat touches the garment: dry-lift fresh marks immediately, presoak set-in buildup with vinegar or baking-soda paste, and air-dry after every wash until the stain is fully gone.
| Point | Details |
|---|---|
| Fresh marks: go dry first | Rub with fabric, foam rubber, or a dryer sheet before introducing any moisture. |
| Set-in buildup: presoak | Use a 1:1 vinegar-water soak (30–60 min) or a 3:1 baking-soda paste (20–120 min) before washing. |
| Always pretest | Dab solution on a hidden seam and wait 10 minutes before treating the stain. |
| Never use heat | Skip the dryer and the iron until the stain is completely gone — heat sets residue permanently. |
| Imuskop replacement option | If the shirt is past saving, Imuskop’s durable black graphic tees are built to handle proper care cycles. |
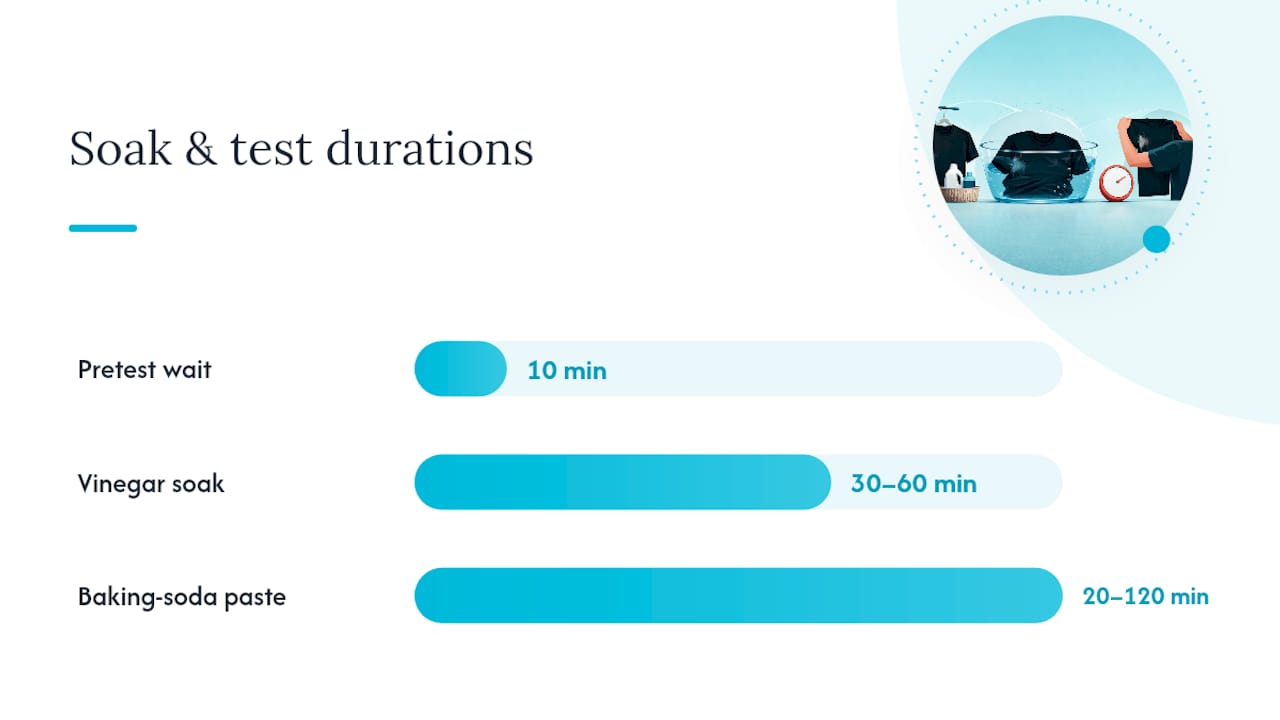
Table of Contents
- How do you remove deodorant stains from a black shirt fast?
- Step-by-step treatments for set-in deodorant buildup
- Does fabric type change which treatment is safe?
- How to prevent deodorant marks on black shirts
- When should you stop DIY and call a professional?
- The recommended regimen for stubborn buildup
- A note on graphic tees and streetwear
- When the stain won’t budge, here is what to do next
- Sources
How do you remove deodorant stains from a black shirt fast?
When you spot a white streak right before walking out the door, chemistry is not your friend. Moisture can push waxy antiperspirant residue deeper into the weave, so keep it dry.
These tools work on fresh, surface-level marks:
- Fabric-on-fabric rub: Bunch up a clean section of the shirt itself and rub the stained area in a circular motion. The texture of the fabric lifts the residue without chemicals.
- Foam rubber pad: The spongy surface grabs deodorant particles efficiently. Hanger pads work perfectly for this.
- Used dryer sheet: A lightly used sheet has just enough texture and residual coating to pick up white streaks without leaving its own mark.
- Old pantyhose or nylon: Bunched nylon is surprisingly effective at buffing away surface residue on dark fabric.
- Soft-bristle brush: A clean toothbrush or a clothes brush, used with light, short strokes in one direction, can dislodge dried product without abrading the dye.
According to Martha Stewart’s fabric care guidance, these mechanical lifts are the right first move for light, surface marks. They only address what’s sitting on top of the weave, though. If the shirt has stiffness or a visible discolored patch at the underarm, you’re dealing with embedded buildup and need the presoak methods below.
What to avoid: Wet baby wipes may seem convenient, but they can bind waxy residue and push it further into the fabric. Rubbing hard with a wet cloth does the same thing.
Pro Tip: Keep a small foam rubber pad or a folded dryer sheet in your bag. They take up no space and handle most fresh streaks before you leave the house.
Step-by-step treatments for set-in deodorant buildup
Surface rubbing won’t touch a stain that has been through the wash or has built up over weeks. That discolored, sometimes stiff patch under the arm is usually a reaction between aluminum compounds in antiperspirant and body salts, according to experts cited by Today. Breaking it down takes a soak.
| Method | Ratio / Amount | Dwell Time | Best For |
|---|---|---|---|
| White vinegar soak | Equal parts vinegar and water | approximately 30 to 60 minutes | Moderate buildup, most cotton and blends |
| Baking-soda paste | a baking soda-to-water paste made with several parts baking soda to a smaller amount of water | between 20 minutes and 2 hours | Heavy, crusty buildup on cotton |
| Enzyme detergent presoak | Full-strength on stain, then soak in warm water | 30 minutes | General buildup, all colorfast fabrics |
| Oxygen bleach soak | Per package directions | Up to 8 hours | Persistent stains on colorfast cotton |
White vinegar soak (step by step):
- Mix equal parts distilled white vinegar and cool water in a bowl or sink.
- Submerge the stained area and let it soak approximately 30 to 60 minutes.
- Gently work the fabric together or use a soft brush on the stain.
- Rinse with cool water, then machine wash on the warmest cycle the care label allows, using an enzyme-containing detergent like Arm & Hammer Plus OxiClean or a comparable heavy-duty formula.
- Air-dry and check before putting it anywhere near a dryer.
Real Simple’s stain guidance recommends this vinegar-then-enzyme-wash sequence for stubborn deodorant buildup specifically.
Baking-soda paste (step by step):
- Mix 3 parts baking soda with 1 part water to form a thick paste.
- Work it into the stain with your fingers or a soft brush.
- Let it sit 20 minutes for light buildup, up to 2 hours for heavy crust.
- Brush off the dried paste, rinse with cool water, and machine wash.
The Spruce cites this 3:1 ratio as effective and safer for preserving color than harsher bleaching agents.
Safety rules that apply to every method:
- Never mix vinegar and hydrogen peroxide in the same treatment step. Rinse thoroughly between different treatments.
- Do not iron or heat-dry a stained garment. The UGA Extension textile program warns explicitly that heat sets deodorant residue and can cause permanent discoloration.
- Pretest every solution on a hidden seam before applying it to the stain.
Does fabric type change which treatment is safe?
Yes, and getting this wrong can fade or distort a black garment permanently.
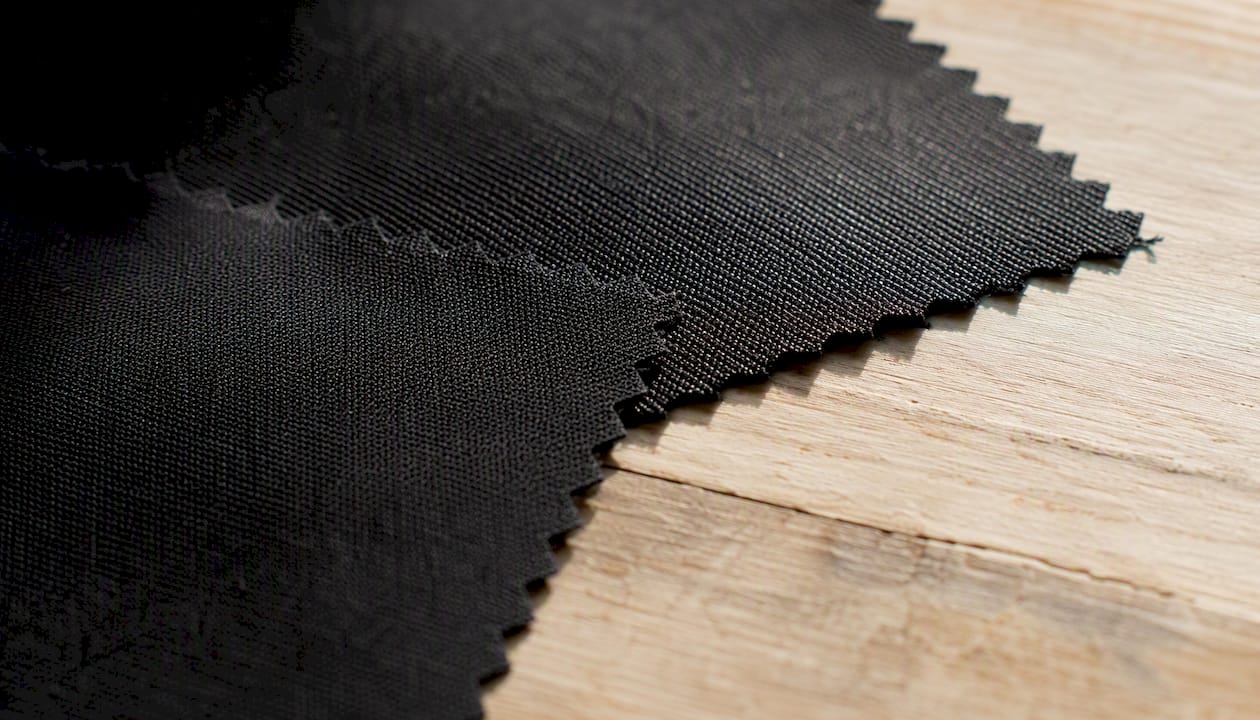
Cotton: The most forgiving. It tolerates warm water, baking-soda paste, vigorous (but not harsh) scrubbing, and enzyme detergents. Warmer wash cycles are generally fine if the care label agrees.
Cotton blends and polyester: Handle with cooler water. Synthetics can pill or distort under heat, and some dyes in blended fabrics are more prone to fading. Stick to the vinegar soak or enzyme presoak; skip the baking-soda paste if the fabric feels delicate. A tri-blend garment (cotton, polyester, rayon) needs the gentlest approach of the three.
Silk and wool: Neither tolerates vinegar soaks, baking-soda abrasion, or enzyme detergents well. Cold water and a detergent formulated for delicates are the outer limit of safe DIY. If the stain is significant, take it to a cleaner.
How to pretest colorfastness:
- Dampen a cotton swab with your chosen solution.
- Press it against an inside seam or hem for 2–3 minutes.
- Blot with a white cloth and wait 10 minutes.
- If any dye transfers to the cloth, that solution is not safe for this garment.
Additional cautions worth keeping in mind:
- Chlorine bleach will strip the dye from dark fabric. Never use it on black or dark-colored garments.
- Avoid ironing over any area you’ve treated until the stain is fully gone and the garment has been washed.
- Use gloves and work in a ventilated space when handling hydrogen peroxide or oxygen bleach products like OxiClean.
How to prevent deodorant marks on black shirts
Most deodorant marks are avoidable with a small change in routine.
- Let it dry first. Apply deodorant, then wait 2–3 minutes before putting on your shirt. Wet product transfers directly to fabric.
- Use less product. A thin layer covers the same area and leaves far less residue.
- Choose the right formula. Clear gels, invisible solids, and aerosol sprays leave fewer white streaks than traditional white-stick antiperspirants. Aluminum-free deodorants, like those from Ban’s clear formula line, reduce the long-term buildup that causes stiff underarm patches, since aluminum compounds are the main driver of that reaction with body salts.
- Wear an undershirt. A fitted cotton undershirt catches most of the product before it reaches your outer layer.
- Roll knit hems up when dressing. Pulling a tight crew neck over your head drags the collar across your underarm. Rolling the hem up first avoids the contact.
- Quick wipe after dressing. A dry cloth or dryer sheet swiped across the underarm area of a just-dressed shirt catches any transfer before it sets.
The Ban deodorant blog also emphasizes testing products on an inconspicuous area first, which applies equally to prevention sprays and stain-guard treatments.
When should you stop DIY and call a professional?
Some stains are past the point where home treatment helps, and pushing further risks damaging the garment.
- Structural discoloration: If the fabric itself looks lighter or the weave is distorted at the underarm, the dye or fiber is already compromised. A cleaner may stabilize it; more soaking probably won’t.
- Persistent yellowing after multiple treatments: Yellow-brown staining that survives two or three wash cycles is deeply embedded. A professional has access to enzyme treatments and equipment that go beyond what’s practical at home.
- Silk, wool, or delicate fabrics: If the care label says “Dry Clean Only,” that instruction exists for a reason. Ignore it and you risk shrinkage, felting, or permanent dye loss.
- Graphic tees with damaged prints: Aggressive scrubbing near a screen-printed or heat-transfer graphic can crack or peel the design. If the print is already lifting, stop and assess whether the shirt is worth treating at all.
When you bring a garment to a cleaner, tell them exactly which treatments you tried and how long you soaked. That information helps them avoid reactions with residual chemistry in the fabric.
Replacement threshold: If the fabric is thinning, the graphic is cracking, or the stain covers a large portion of the underarm panel, replacement is the more practical call.
The recommended regimen for stubborn buildup
Work through this sequence in order. Stop as soon as the stain is gone.
- Mechanical lift first. Dry-rub with fabric, foam rubber, or a dryer sheet to remove any loose surface residue before introducing moisture.
- White vinegar soak. Mix 1 part distilled white vinegar with 1 part cool water. Soak the stained area approximately 30 to 60 minutes, then gently brush and rinse.
- Baking-soda paste. If vinegar alone didn’t clear it, apply a 3:1 baking soda-to-water paste directly to the damp stain. Let it sit between 20 minutes and 2 hours depending on severity, brush off, and rinse.
- Enzyme detergent wash. Machine wash on the warmest cycle the care label permits, using a heavy-duty enzyme detergent (Arm & Hammer Plus OxiClean is a widely available option). Enzyme detergents break down the protein and salt compounds that make deodorant buildup stubborn, per expert guidance from Today.
- Oxygen bleach soak (colorfast cotton only). If the stain persists and the care label allows bleach, soak in an oxygen bleach solution (OxiClean or equivalent, per package directions) for up to 8 hours. Oxygen bleach is far gentler on dyes than chlorine bleach and is recommended by Maytag’s care guidance for persistent stains on colorfast fabrics.
- Air-dry and inspect. Lay the shirt flat or hang it. Check the stain in natural light before putting it anywhere near a dryer.
| Step | Ratio / Timing | Safety Note |
|---|---|---|
| Vinegar soak | 1:1 vinegar:water, 30–60 min | Rinse fully before next step |
| Baking-soda paste | 3:1 soda:water, 20–2 hours | Do not mix with vinegar without rinsing |
| Enzyme wash | Per detergent label | Warmest cycle care label allows |
| Oxygen bleach soak | Per package, up to 8 hours | Colorfast cotton only; patch test first |
Pro Tip: Turn the shirt inside out before any soak or wash. Treating from the inside pushes residue out through the face of the fabric rather than deeper in, and it protects the outer dye from direct contact with the solution. This matters especially for printed tees where the graphic sits on the outer surface.
A note on graphic tees and streetwear
Treating a stain on a plain black tee is straightforward. On a graphic tee, the print changes the equation.
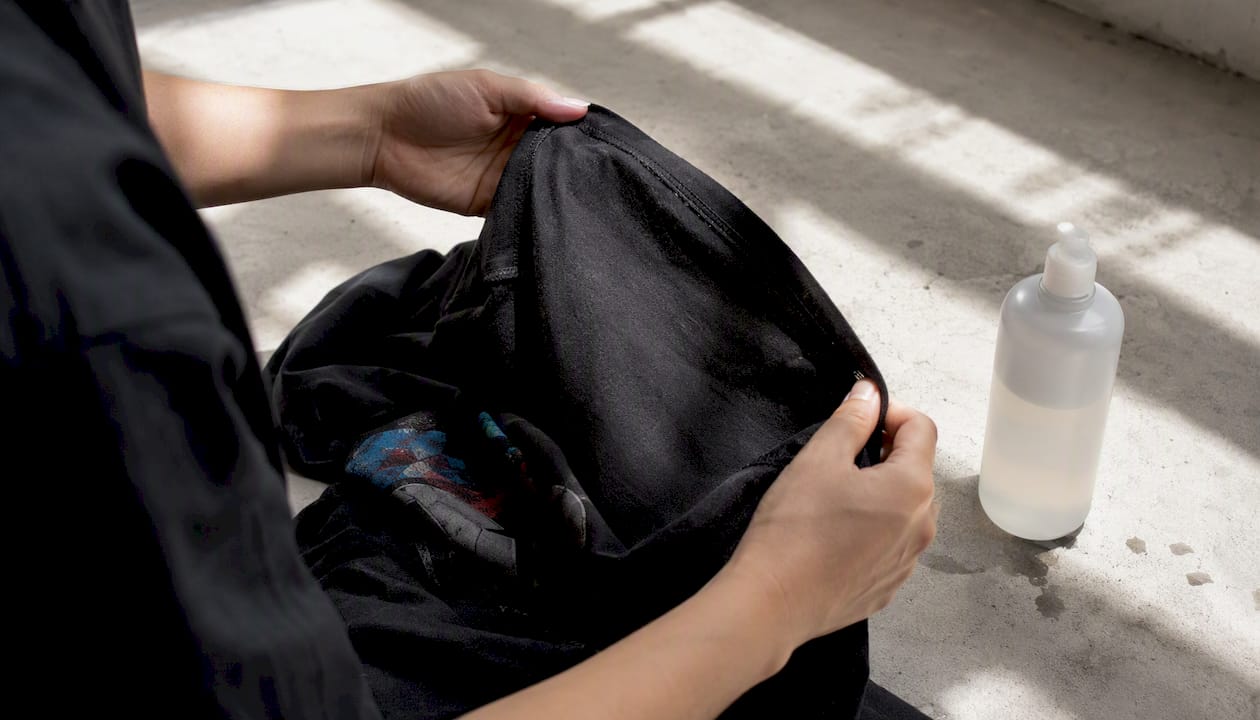
Screen-printed and DTF graphics sit on top of the fabric. Aggressive scrubbing directly on a print can crack or peel it, and soaking a heat-transfer design in vinegar for an hour may soften the adhesive layer. The fix is simple: always treat from the inside out, spot-test near a seam rather than near the graphic, and use a soft brush rather than anything abrasive.
Imuskop’s graphic tees are built with durable prints in mind, but no print is immune to harsh chemistry or mechanical abrasion. If you’re unsure whether a treatment is safe for a specific design, check the care tag or reach out to Imuskop’s support team before soaking. For context on how different print methods hold up to washing, the DTF vs. DTG breakdown on the Imuskop blog covers what each method tolerates.
When the stain won’t budge, here is what to do next
If you’ve worked through the full regimen and the stain is still there, or the fabric is thinning around the underarm, the shirt has probably reached the end of its useful life. That’s not a failure of the method. Some buildup is simply too deep, and some fabrics aren’t worth the risk of further treatment.

Imuskop’s black graphic tees are made from materials that hold up to regular washing, and the prints are built to last through proper care cycles. If you need a replacement that starts fresh, the Imuskop shop carries heavyweight black tees in styles that work for everyday wear and streetwear alike. For guidance on which fabric weights handle repeated washing best, the best heavyweight t-shirts guide on the Imuskop blog is worth a look before you buy.
Sources
The methods and safety guidance in this article draw from the following sources:
- How to Remove Deodorant Stains From Black Shirts—Quickly
- How To Remove Pesky Deodorant Stains From Shirts
- How to Remove Deodorant Marks From a Shirt
- Remove Stains From Antiperspirant, Deodorant | Textiles (UGA Extension)
Recommended
- shop.app
- American Express
- American Express
- American Express
FAQ
Can you remove old deodorant stains from a black shirt?
Yes, in most cases. Crusty or yellowed buildup responds to a presoak with white vinegar or a baking-soda paste before washing with an enzyme detergent. Give it more soak time than a fresh mark, since set-in residue takes longer to break down.
How to get armpit stains out of black clothes?
Start by identifying whether the mark is fresh or set in. A fresh streak just needs a dry rub with fabric, foam rubber, or a dryer sheet, while older buildup needs a vinegar or baking-soda presoak before an enzyme wash. Always air-dry afterward and skip the dryer until the stain is fully gone.
Does Dawn dish soap remove deodorant stains?
The guidance covered here focuses on dry-lifting fresh marks with fabric, foam rubber, or a dryer sheet, then presoaking set-in buildup with white vinegar or a baking-soda paste before an enzyme wash. Dish soap is not part of that regimen, so stick to the vinegar or baking-soda presoak followed by enzyme detergent for reliable results.
How do you prevent deodorant marks on black shirts in the first place?
Let deodorant dry fully before dressing and keep a small foam rubber pad or folded dryer sheet on hand to buff away any fresh streak before it sets in. Avoiding heat on a stained shirt is also key, since a dryer or iron can bond residue to the fibers and make it permanent.